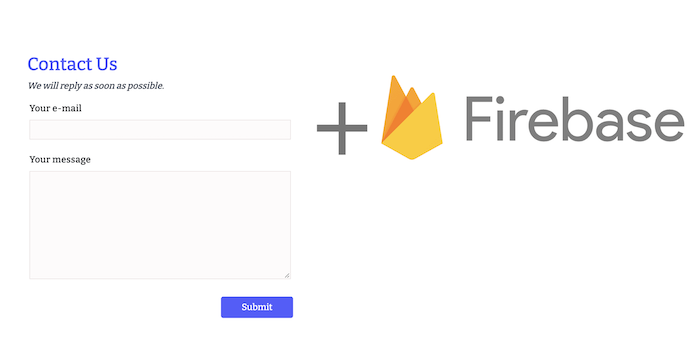
Contact Form in Gatsby JS and Firebase realtime database
Our website has a contact form where a visitor can leave a message to us.

Given that DevToolsDaily is a static website implemented in React/GatsbyJS and hosted in Netlify, we didn't want to add a tranditional web server into the picture (yet).
Options we considered
We started researching the options we have for contact form.
Good starting point is Gatsby's guide: Building a Contact Form
- Netlify form submissions
You can see documentation here Netlify form handling feature;
For JS generated forms like GatsbyJS the setup is slightly different.
- Third party form submissions
Third party form submissions like getform or formspree seem to be trivial to setup and use.
- Lambda + any cloud DB.
Very popular choice for any API + storage layer are Netlify Functions + cloud storages like FaunaDB or "MongoDB Atlas".
-
- Firebase allows direct web client to cloud DB connection, no need to have web-server layer in between.
- Free limits seem pretty generous.
- we know we need to add Auth at some point, so doing contact form would be a good testing ground.
- I was considering firebase before but it appeared to be too much work, in reality it took only 20 minutes.
How we setup contact form with Firebase
1. Signup for Firebase
Signup for Firebase and setup realtime database (you might want to try "Firestore", we went with realtime database due to it's very simple storage model which works for now).

2. setup security rules
This is very important given that you open your DB connection to public internet via website. You should probably read full guide here.
For contact form, we don't want anybody to read any data, and we want anybody be able to write for a specific key.
My rules look like this:
  "rules": {
    "contacts": {
       "$contactId": {
       	".read": false,
        ".write": true,
        ".validate": "newData.hasChildren(['email', 'message'])",
        "email": {
          ".validate": "newData.isString() && newData.val().length > 0"
        },
        "message": {
		  ".validate": "newData.isString() && newData.val().length > 0"
        }
       }
    }
  }
explanation:
- permissions: nobody can read anything, you can write into specific
id - validatons: email and message should not be empty
3. install gatsby plugin + configure keys
follow instructions here https://www.gatsbyjs.com/plugins/gatsby-plugin-firebase/
4. creating contact form + handler
how to submit data to firebase:
const contactsRef = firebase
    .database()
    .ref("/contacts");

const newContactRef = contactsRef.push();
newContactRef.set({
    email: email,
    message: message,
    createdAt: Date.now(),
}, (error) => {
    if (error) {
        console.log("failed to write data");
    } else {
        setSuccess(true);
    }
});
(See more documentation here - https://firebase.google.com/docs/database/web/lists-of-data)
part of JSX form for reference.
    <div className=" contact-get-backtext-xs italic text-gray-700 mb-3">We will reply as soon as possible.</div>
        <div className="flex flex-wrap -mx-3 mb-6">
            <div className="w-full px-3">
            <label className="block tracking-wide mb-2" htmlFor="email">
                Your e-mail
            </label>
            <input id="email" name="email" type="email" className="w-full" value={email} onChange={(e) => setEmail(e.target.value)}/>
            </div>
        </div>
        <div className="flex flex-wrap -mx-3 mb-6">
            <div className="w-full px-3">
            <label className="block tracking-wide mb-2" htmlFor="message">
                Your message
            </label>
            <textarea name="message" id="message" value={message} className="w-full h-48" onChange={(e) => setMessage(e.target.value)}></textarea>
            </div>
        </div>
        <div className="md:flex items-end">
            <div className="w-full text-right">
                <PrimaryButton type="button" onClick={onSubmit}>Submit</PrimaryButton>
            </div>
        </div>
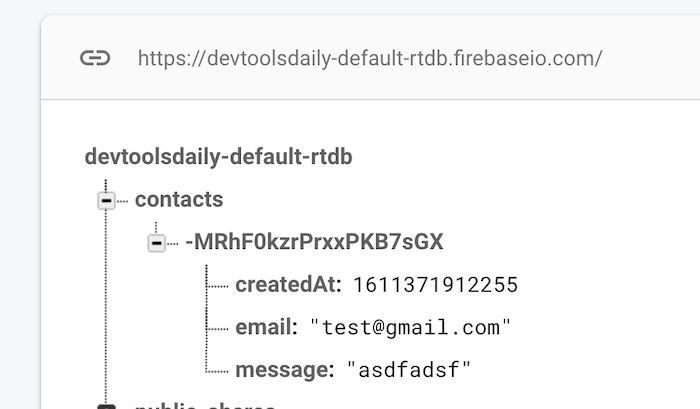
5. see submissions in firebase UI

This article was originally published in DevToolsDaily blog
